|
|
 |
|
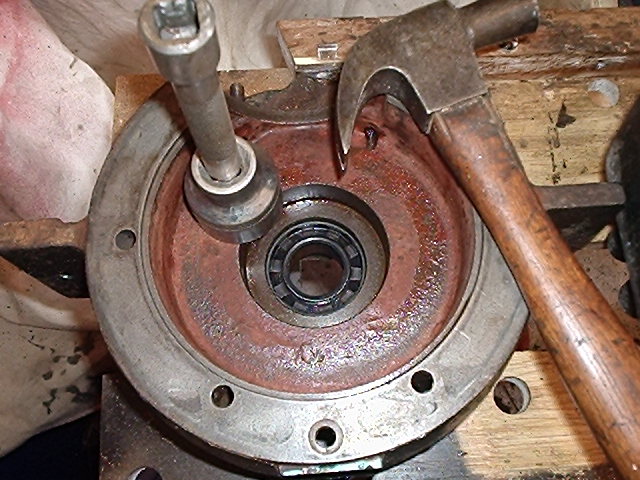
Refit the new seal into the front half using a large socket/drift(writing side to face outward) (vire 6 shown above) drift in the new bearing - it doesnt matter which way round but make sure that you first remove sealing plates if you have bought sealed bearings, with a screwdriver prising them off - the bearings are lubricated by the oil in the petrol so need exposing to it. Make sure you support just the local web or you will bend the crankpin webs together press the other new bearing onto the rear of the crank. this is best practice since you want to avoid a tight crank which results from the crank being forced into the bearings later. The bearings have been designed to be a tighter fit on the crank than the crankcase to ensure they run with a little gap on the balls, enough to allow oil between the metal balls and races. set up the rear half flat on a workmate/blocks so only the local web is supported as pressed/drifted on. dont bash the threaded end of the crank - make up a 2" dia 6" long tube and use that over the crank end The vire 7 is simpler than the vire 6, in there is no circlip or castelated washer retaining the bearings and oil seals in the rear end. BUT THERE ARE TWO OPPOSED seals on the gearbox end - the crank side should have lips facing the crank, and the gear side seal should have lips facing the gear oil. Ensure mating surfaces are free from grit/rust/grease/protrusions/dents etc use hylomar blue general purpose gasket sealer (the best non-setting) make a new gasket out of gasket-paper for the cylinder, is covered in the gearbox section of this website , but is achieved in the following way.. cut the paper roughly an inch too big all round place it over the crankcase-cylinder hole or crankcase gearbox face make holes to fit over studs/dowels mark hole centres with a pen on the paper use 1/4" sockets of about 7mm with bar to punch holes out on bench tap out the middle and discard use a light panel pin hammer to tap at 20 degrees into the cavity, thus breaking the paper along the internal edge of the crankcase
tap away the excess from the edge as above The crankcase halves are just sealed with hylomar- no gasket make sure you first clear out the drain plug hole
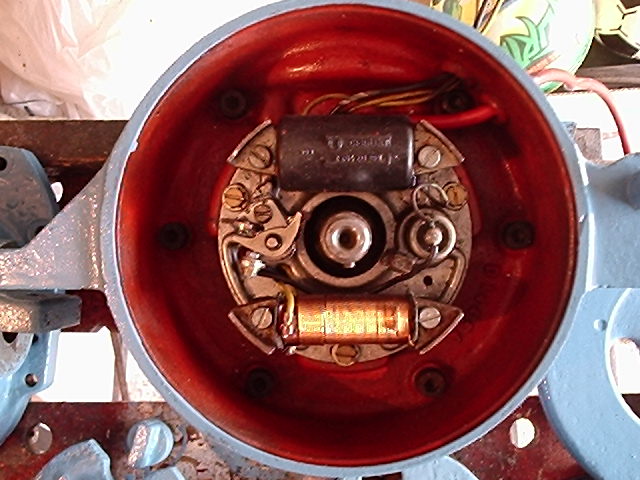
(Vire 6 show above) Magneto
feed the HT through the grommet feed the stop wire (black) and AC output wires (yellow) through the grommet replace 3 base plate bolts to marked timing position, or halfway on the slots if you forgot make sure no wires can get near the flywheel by going under base plate rather than over it Woodruff key, Flywheel, Nut (no washer) Tighten nut by blocking crank with hammer shaft
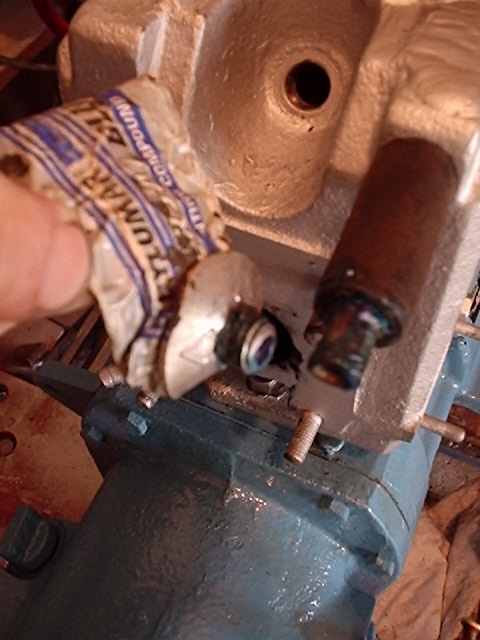
You then need to check/adjust the boss is lined up to allow the allen bolts through Wrong Correct The nut can be adjusted so it is tight enough not to fall off, but easy enough to get off in the boat using
spanner/hammer if the points need servicing. its best to tighten rather than loosen off, but not too much. torque should be less than 50ft.lbs? Above the Vire 7 flywheel/pulley with polished and laquered rope pulley ready to go on the crank. The piston rings should be fully mbile in their grooves, if not remove them very carefully, by working from the most stuck end a small flat bladed screwdriver will be best to lever them out, but never apply serious leverage as the cast iron rings will snap and you will pay about £20 a ring for spares if available from a vire 7 dealer! to remove the rings, ease them out of the groove comletely before attempting to move them off the piston, then groove by groove move the ends and back up till they come off without force. To clean them up use a new stanly blade and scratch off carbon from the rings all round and then the grooves,
you should also be using the ring as a tool to see if it is now free by rolling it around the groove from the outside,
this shows you where any tightness is and work to be done. replace the rings just as carefully as they were
removed, ensuring pegs line up with the ends and also the ends recess is the right way up, or the engine will seize on assembly. The piston is refitted the right way round, and its ring dowels lined up with the ring-splits. the cylinder bootom is
chamfered out to make it easy to slide the cylinder over the rings - provided you squeeze in the ring ends around
the piston (making sure all the trime it is astride the dowel) with finger pressure. dont force anything, as it should
be easy or there is something wrong! use plenty of oil on the rings. My technique is to lower the cylinder down
and leave the ends of the ring till last, pressing in the back of the ring into its groove and allowing the cylinder to
slip down about a mm, then with both palms supporting the cylinder,use myindex fingers to push the rest of the
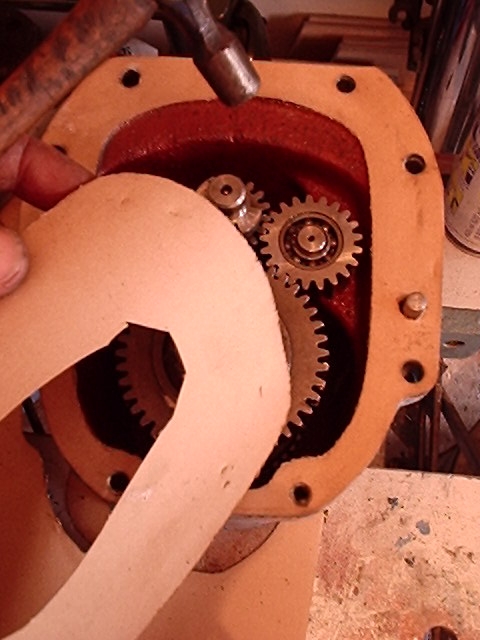
ring round to finish up at the peg, occasionally lifting the cylinder alittle if things are getting tight. then do the same for the other 2 rings. Above note the piston skirt squarer cutout faces aft, so that the ring locating pegs facr forward generally and thereby the ends of the rings wont be near the super heated exhaust port later! When the entire piston is in, it should be a sticky but easy sliding fit The cylinder gasket is best sealed onto the cylinder, and not the crankcase to give you a good chance of reusing it onboard in case of probs (worth making a spare) cylinder nuts should not be overtightened, since thay are inaccesible, and soft(there is no compression forcing it up unlike cyl.head bolts) you will need to tighten the cylinder down gradually a couple of turns for all three nuts at a time, then one flat at a time until all 3 are even. I found a 15mm ring spanner for the rear, and a 12mm open end for the front 2 ideal. Refitting Gearbox place engine front down on workmate/carpet add gasket you made in place over dowels line up gearbox outputshaft dog with crank end dog lower onto dowels tap home around the gearbox flange tighten up 2 or 3 bolts finally seal gasket with hylomar and bolt up. refill with fresh mariised engine oil, hypoy, or any engine oil will do. replace dipstick check you have no leaks by leaving it clean overnight, or it will be a lot more difficult to fix on the boat.
EXHAUST etc
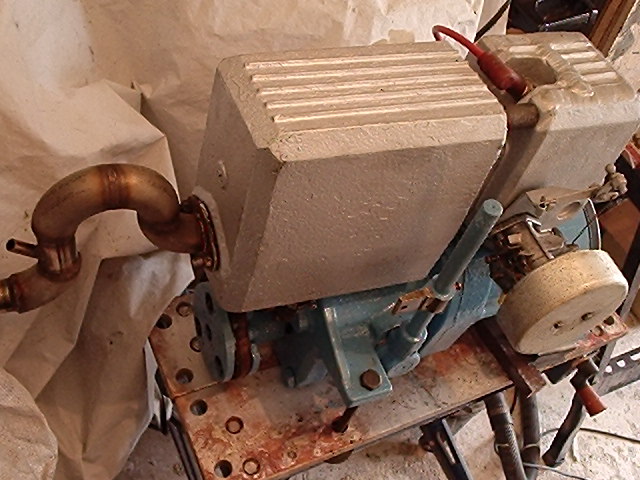
having been polished up with wire wheel to remove old paint and rust, the exhaust and cylinder head are sprayed with hi-temp paint (alluminium spray i used) make sure the water pump outled rubber pipe is ready pushed fully back
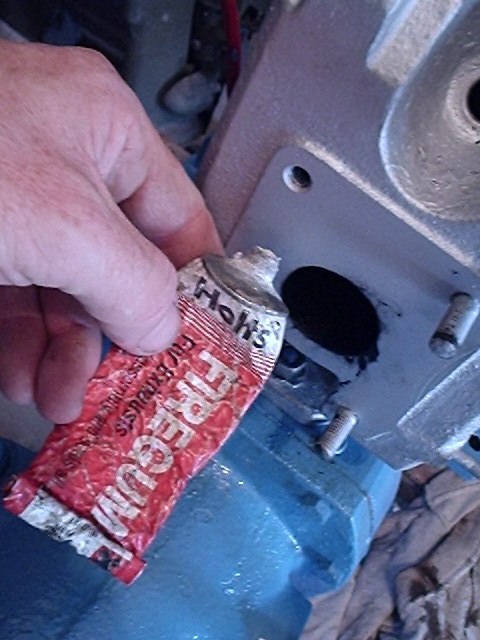
then refilt the exhaust water outlet with a smear of gasket sealer bolt on the exhaust with the four nuts after sealing the gasket with exhaust cement (thin so it wont squeeze into port and obstruct gases))
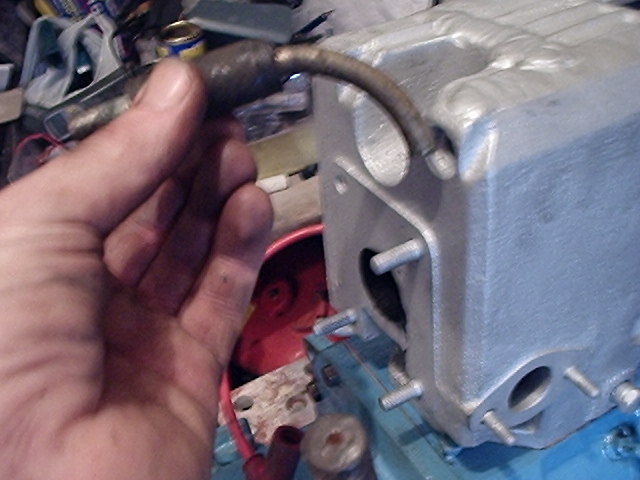
N.B. this engine had a curious gooseneck pipe which should prevent most flowback after stopping the pumping engine, and also seems to feature a post-siphon-trap water injector (from cylinder outlet via rubber pipe not shown) to protect the rubber exhaust hose from burning . In ractice if you leave the exhaust open to salt air without running the engine every month, it will eventually corrode and rumble. I rebuilt this engine with stainless main bearings, as although they cost twice as much, it will save it ever having to be rebuilt again, which they seem to need every 10 years even in the best of hands. finally this engine had the carb dynastart and belt fitted. it was then bolted down to a bed and run for several minutes to check carb and effectively flush gearbox. the gear oil was then drained before shipping in case it got upside down in transit (messy), but by leaving it in ensured any leaks would surface before shipment and fitting in a boat (better discover gasket/seal leaks before on a boat!)
|
 make sure you use new/ clean points
 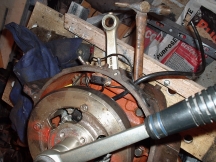 (vire6 shown)
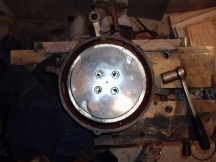 (vire6 shown)
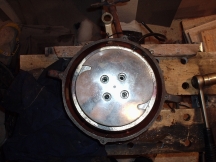 (vire6 shown)
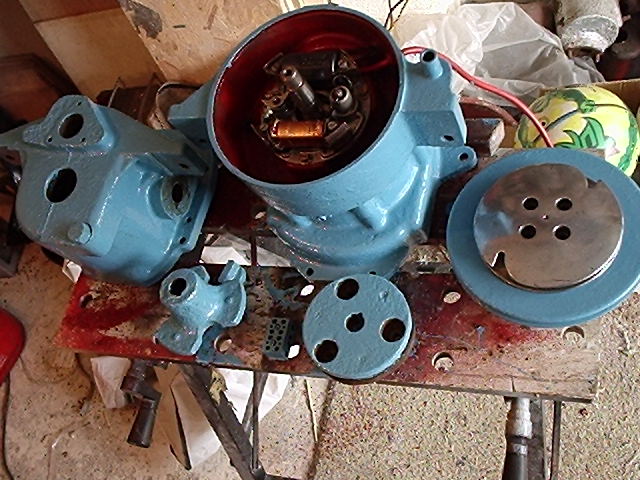

 N.B. Dont forget the 2 bols hidden under the gearbox too.
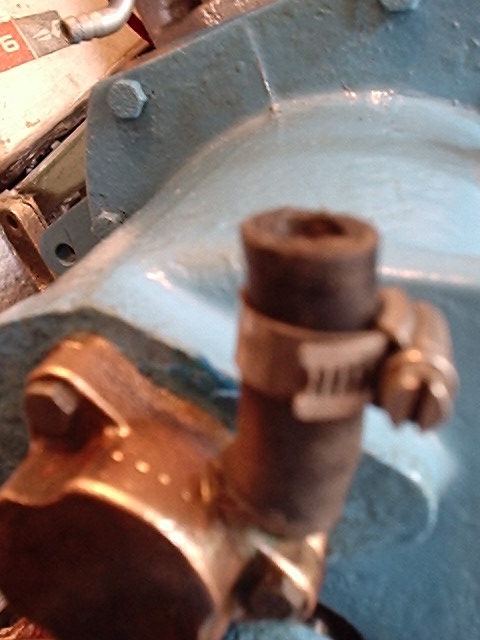
 seal the water pump hose with 2 jubilee stainless clips
| [Vire 7 Marine Engine] [How To] [Manuals] [FAQ] [Special Deals] [Contact] [Buy Parts] [Vire 12] |